


How to get started with your digital signage solution
Setting up a digital signage solution that fits your needs is easier than you think. Here is how you get started …
Setting up a digital signage solution that fits your needs is easier than you think. Here is how you get started …
Before you can set up your Q-Play digital signage solution there are some things you need:
You can use any type of screen to run your digital signage solution. However, we would recommend to you invest in a professional screen meant for digital signage use. It’s built to run content more than 8 hours a day, thereby decreasing the risk of your screen breaking down.
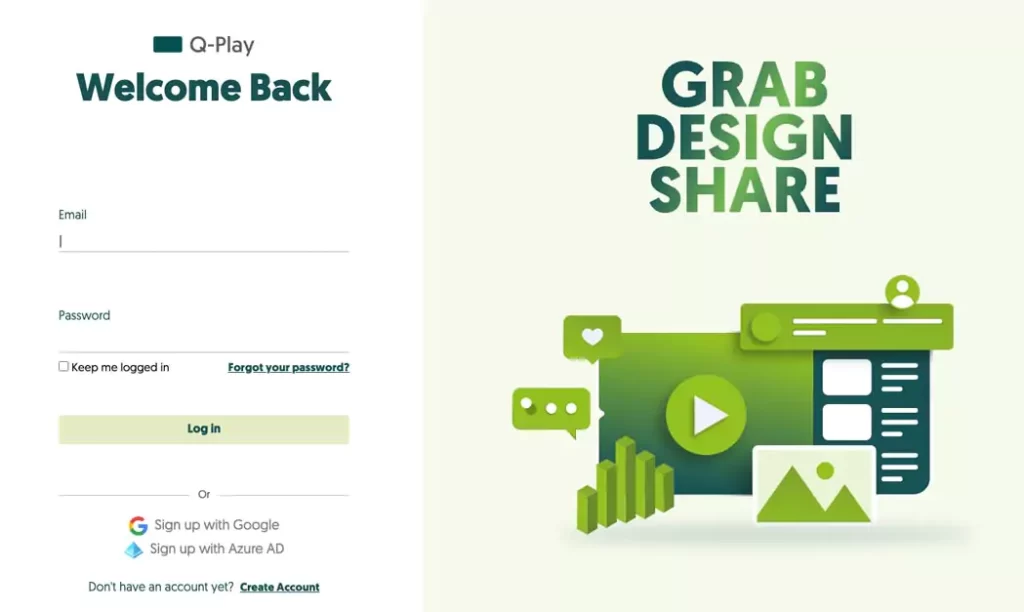
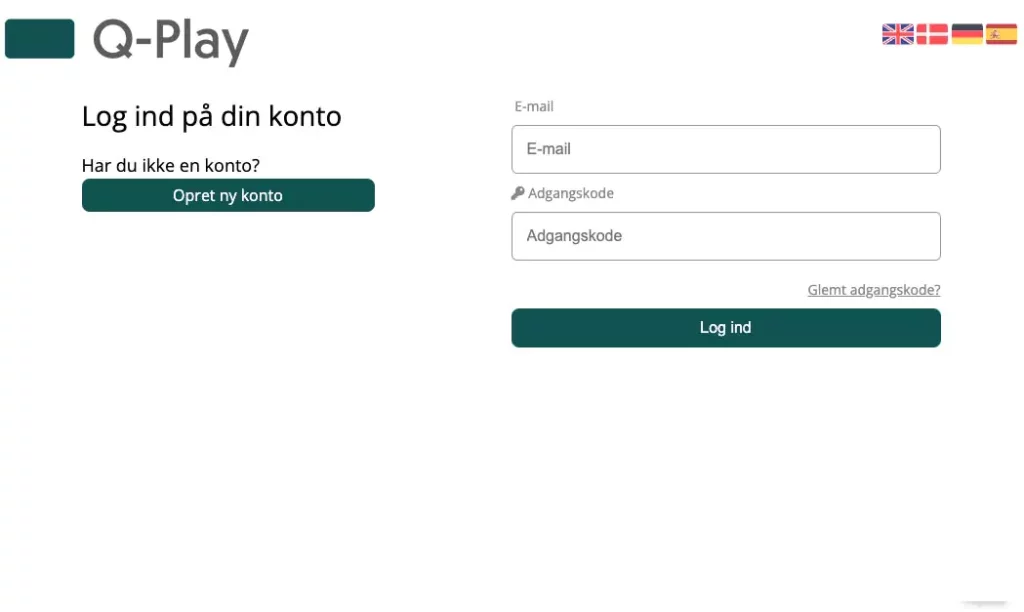
Your Q-Play account is the online platform from which you will be managing the content on your screens. It is a company account and no matter how many screens you have, you manage all of them and their content, by signing in from your computer.
With this type of cloud-based digital signage, you can manage the content of your screens, even though you and your signage screens are on opposite ends of the earth.
In order to run your content smoothly, you need a player that is Q-Play compatible along with a Q-Play subscription.
Q-Play is compatible with a vast variety of platforms and depending on the content you want to run, one platform might be more suited than another. Read our guide on how to choose the right player and see, which player fits your needs best.
You can order both players and subscriptions in the Nordicscreen Shop.
When you have made all the preparation, you are ready to start setting up your signage solution.
The first step is to mount the screen exactly where you want it and plug in the power cable. If you have a screen with a built-in Q-Play player, you just connect the screen to the internet either through Wifi or LAN and Q-Play will start up automatically and you will see a Connect Code.
If you have an external player, you will need to connect the player to the screen. This is done through an HDMI cable. After connecting the player to the screen, you need to plug in the power cable and connect it to the internet, either through Wifi or LAN. Make sure the screen is set to the right HDMI port, and when the player is finished booting up you will see a Connect Code.
From your computer, you sign in to Q-Play. Here you navigate to PlayControl and press Connect Player. Type in the Connect code displayed on your screen and connect your player to your Q-Play Account.
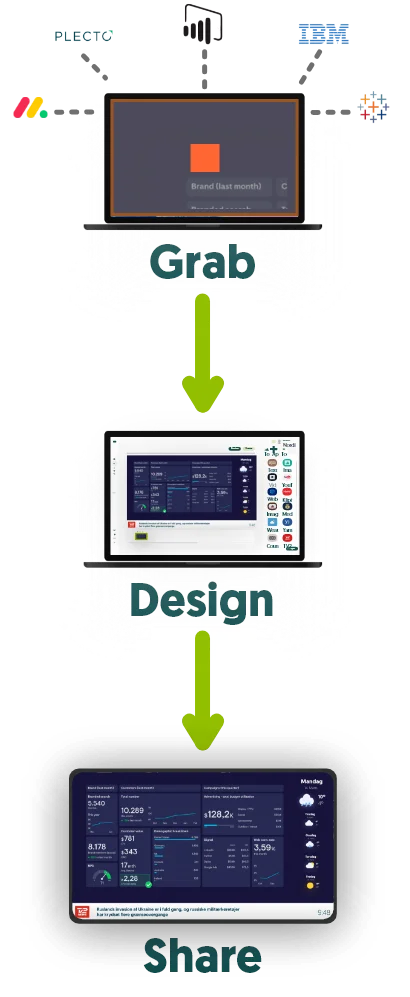
Now you are ready to design your content.

Use DesignTool in Q-Play to create the content for your signage screens from your computer. Choose the type of screen you wanna design, and drag n’ drop the different apps to create your presentation, just like you would a PowerPoint.
Read the designers guide on how to create your design or request a quote on getting a custom design by contacting [email protected]
You have your design and your player is ready to go. Now all you need is to connect the two.
From the online Q-Play platform, you choose your player under PlayControl. Press Add Presentation, choose your presentation and click save. Now your player will update and start running your content.
You have now set up your Q-Play Digital Signage solution – yay!


From now on, whenever you wanna make changes to the content running on your screens, you just sign in to Q-Play from your computer. From here you can either make changes to your existing presentation or create a new presentation and connect it to your player just like in step 4. Whether you have one or multiple presentations connected to the same player is completely up to you.