How to get started with your meeting room booking solution
Creating your own meeting room booking solution doesn’t have to be complicated. Here is how you get started …
Preparation
Before you can set up your Q-Cal Meeting Room Display solution there are some things you need:
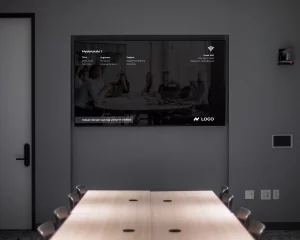
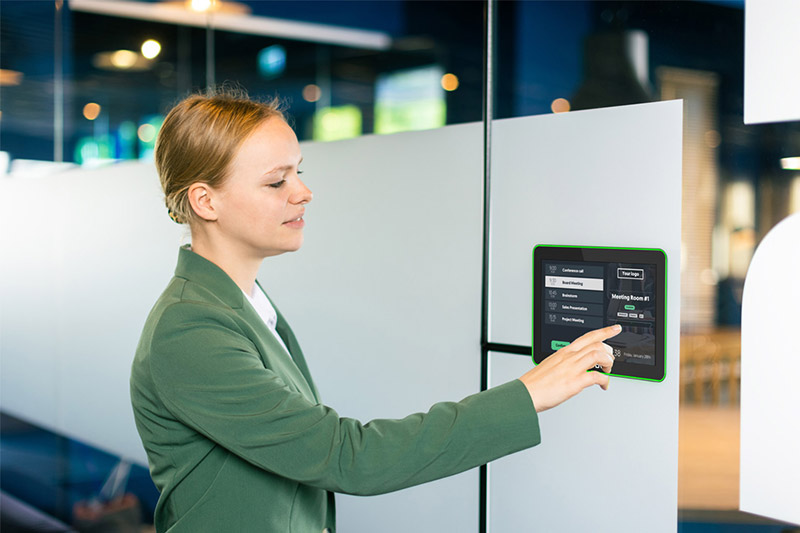
At least one Meeting Room Display
Depending on how many meeting rooms you wanna include in your meeting room display solution, you need a meeting room booking display for each room. We recommend you find a touch screen that is highly durable and with an LED edge that makes it easy to spot available rooms from afar.
Essential hardware feature for meeting room displays
A Q-Cal Account and a subscription
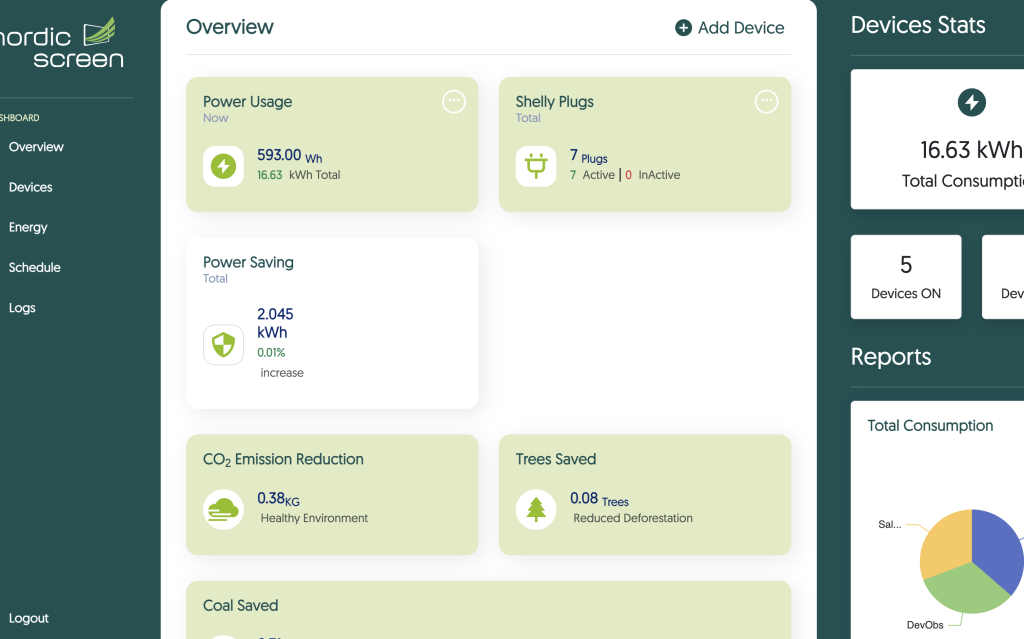
Your Q-Cal account is the online platform that gathers your calendar information, designs and distributes the information on the screens, and makes sure that your calendar is always updated with the latest changes.
Write to [email protected] to get help with setting up your account and ordering your subscriptions.
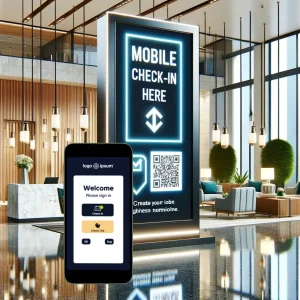
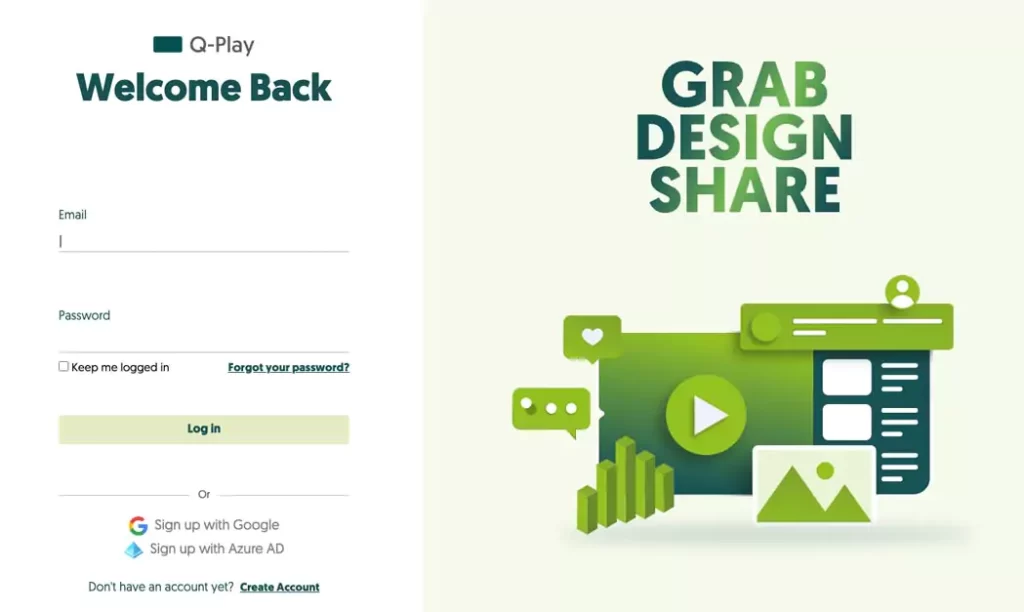
Step 1: Integrate your calendar
First, sign in to Q-Cal and integrate your calendar with your Q-Cal account. You will find a vast variety of standard integrations, such as Office 365, GSuite, IBM, and Picasso Digital.
With a two-way sync in place between your calendar and your Q-Cal account, both your meeting room displays and your calendar will update automatically based on changes to meetings in your calendar, or when someone books a meeting room directly on the meeting room display.
If you don’t want to set up the integration yourself, we are more than happy to do it for you.
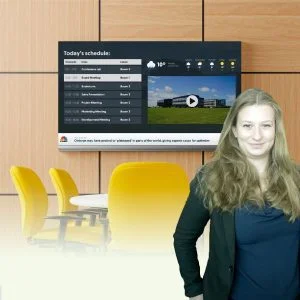
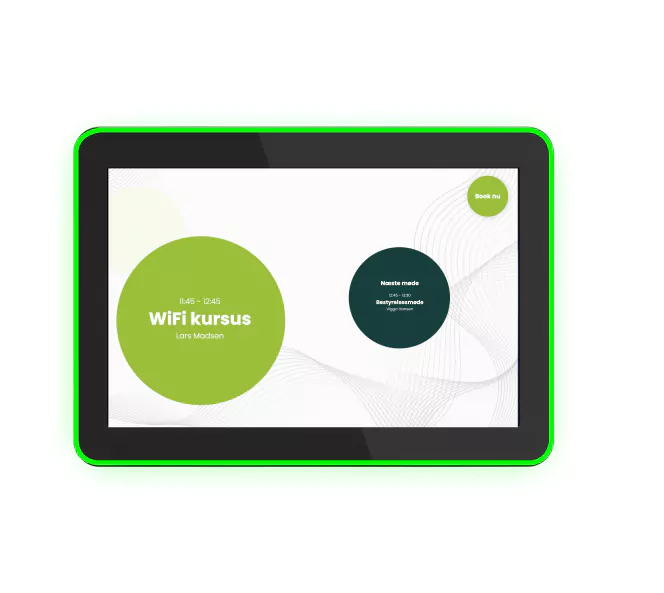
Step 2: Create your design
Next up you will need to create the design displayed on the screens. Depending on what features you wanna combine, you will find several templates, you can use as inspiration for your meeting room display design.
If you want a custom design created by a professional graphic designer, reach out to [email protected]
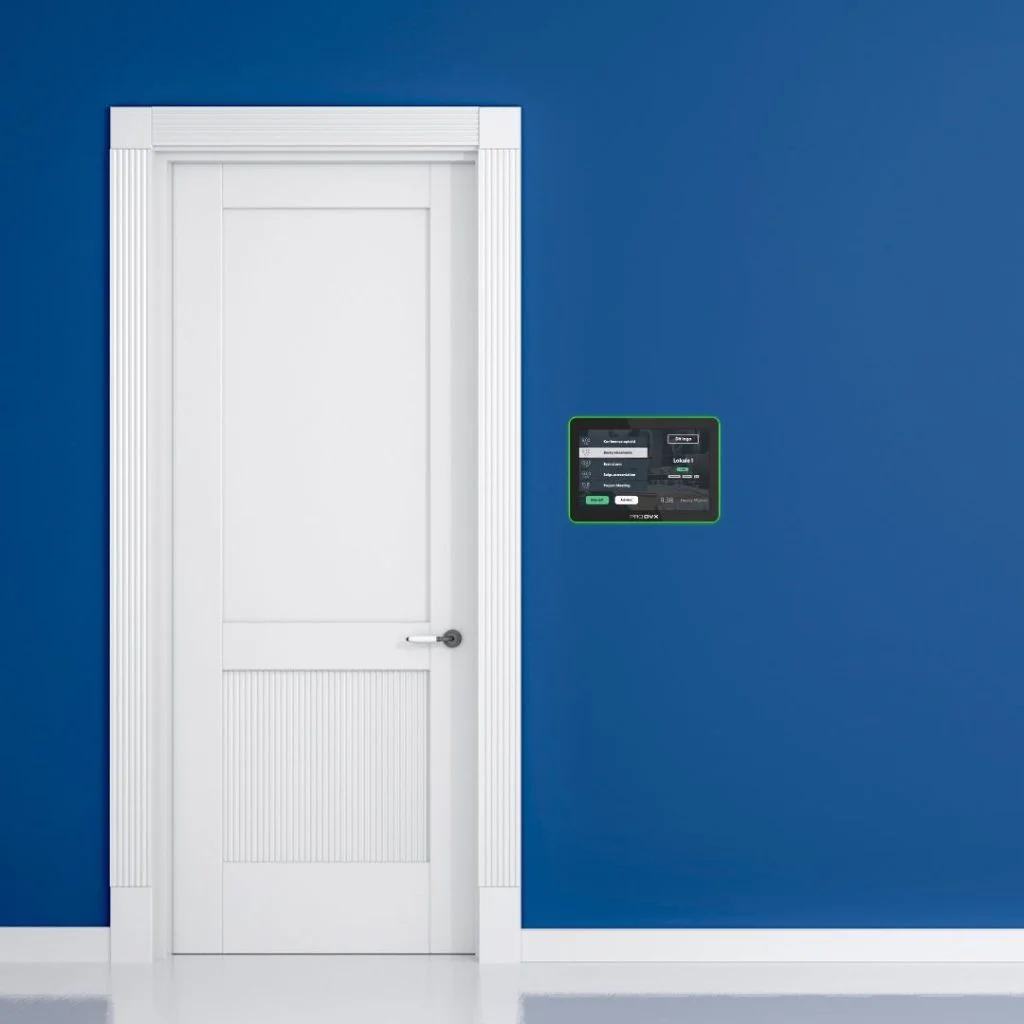
Step 3: Mount your screen
Mount your displays outside each of your meeting rooms. Provide them with some power and an internet connection either through WIFI or LAN.
When the screen is done booting up, it will display a connect code.
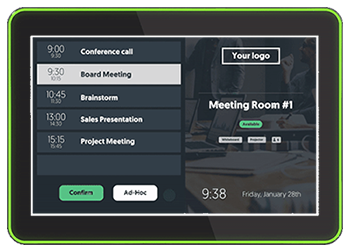
Step 4: Connect your screens with their designs
The final step is to use your computer to type in the connect code from the screen. This way you tell the screen which calendar to listen in on.
The screen will reboot and you will be able to see your design and the list of when the meeting room is occupied.
You have now set up your Q-Cal Meeting Room Display solution – yay!